ChemLab Simulations
ChemLab for windows is an interactive simulation of a chemistry lab. Common Lab equipment and procedures are used to simulate the steps involved in performing a chemistry lab experiment. Each lab simulation is contained in a separate simulation module, thus many different labs are possible using a common lab interface.
A lab simulation module contains code and resources, such as chemical list, indicator list, available menu options and instructions specific to each lab. New lab modules can be added to ChemLab by copying them to the program directory. These lab modules are in fact extensions of the main ChemLab program, which is a common interface for them.
Selecting a Lab Simulation:

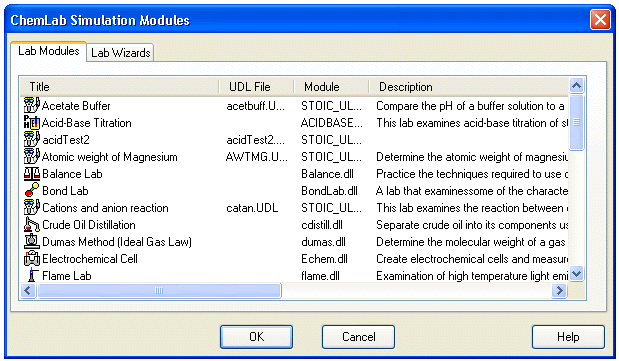
A lab module is selected at start-up, when a new file is created or by selecting the lab option. The simulation dialog box presents a list of available lab simulations along with short descriptions of each. To select a lab, click on the title of the lab you wish to perform and press OK. Clicking cancel will load the generic lab simulation. Note that there are two types of lab simulation files: (1) User-Defined Lab (UDL) files with a *.udl extension can be created or edited by users with a Lab Wizard tool (available with Pro Version only), and (2) pre-programmed simulation plug-ins with a *.dll extension that cannot be created or edited by users.
When an existing file is opened it automatically loads the appropriate lab module. If that lab is not available a generic lab module is loaded which allows the viewing of the file.
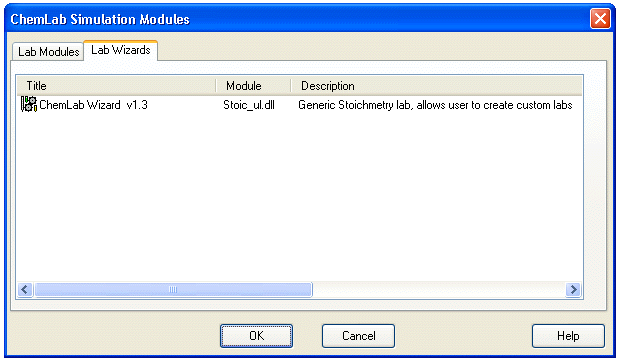
In addition to selecting simulation modules, the user may also want to create their own labs using the Lab Wizard tool, which is a special kind of lab simulation plug-in. It provides a graphical interface which allows users to program their own simulations. Selecting a Lab Wizard will take the user through the step-by-step process of creating a new custom lab called a UDL (User-Defined Lab) simulation. Lab Wizard tools can be viewed by selecting the Lab Wizards tab on the simulation dialog box. The stoichiometry Lab Wizard may be launched directly from the ChemLab by selecting Create New UDL… under the File menu if a UDL file is already loaded. Otherwise, it must be launched by selecting New under the File menu and then selecting the Lab Wizard tool from the Lab dialog box.
These UDL simulations will then appear in the list of available lab modules. The UDL file name will appear in the UDL file column. Once you have opened a UDL, it may be edited from ChemLab by selecting Edit UDL file … under the File Menu.

Add UDL Lab... option: Only UDL files in the Model ChemLab working directory are displayed by the ChemLab Simulation Modules dialog box. Selecting this command from the Options menu provides a convenient means for copying a UDL file to the working directory. The UDL file is simply located and then automatically copied into the working directory. The UDL simulation will then be listed along with the other simulation files in the ChemLab Simulation Modules dialog box.